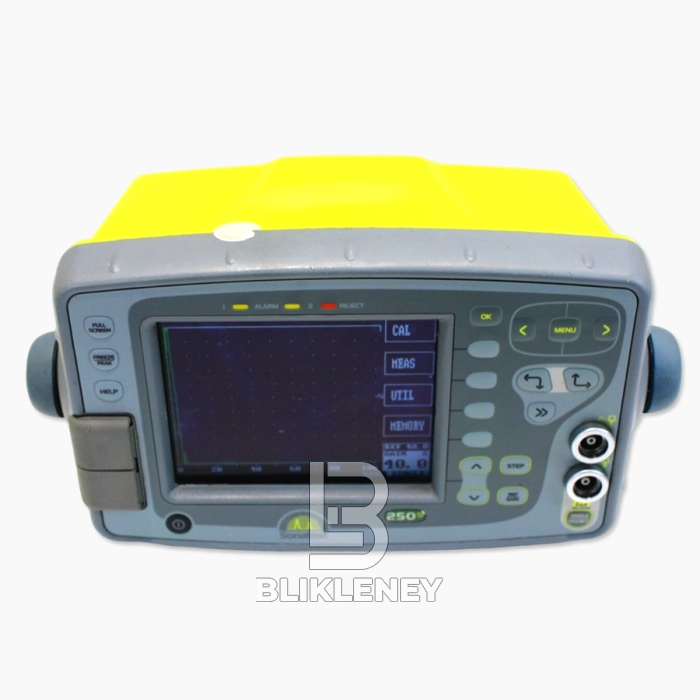
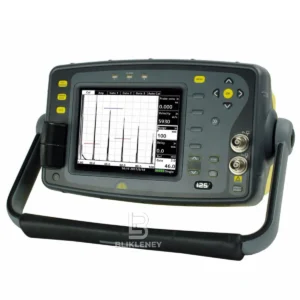
Sonatest SiteScan 250S Flaw Detector includes all the software features of the 150S combined with a narrow band amplifier and TCG for more demanding ultrasonic applications. The square wave ActiveEdgeTM pulser automatically optimizes for each filter band selected, ensuring maximum performance.
Sonatest SiteScan 250S Flaw Detector defects are highlighted in a different color to the natural reflectors, enabling quicker and more reliable defect detection.
Sonatest SiteScan 250S Flaw Detector offer a range of measurement options for signal height or distance using either flank or peak triggering Curve Surface Correction. Sonatest SiteScan 250S Flaw Detector will calculate the surface distance and depth of defect, Sonatest SiteScan 250S Flaw Detector taking into account the internal or external radius Flaw Sizing.
Sonatest SiteScan 250S Flaw Detector Features:
- Sunlight viewable, color trans-reflective TFD display
- Easy-to-use, user friendly operating system
- DAC, AWS, API and DGS (AVG) included at no extra cost!
- Digital flaw location (thickness and angle beam trig.)
- Curve correction
- Full screen A-Scan display
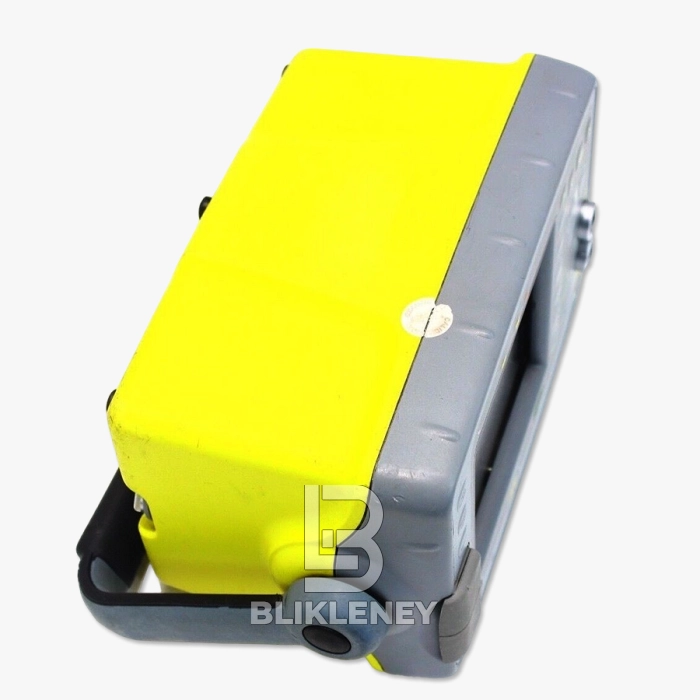
- Waterproof – IP67 case
- Shockproof case
- 15 hour battery life!
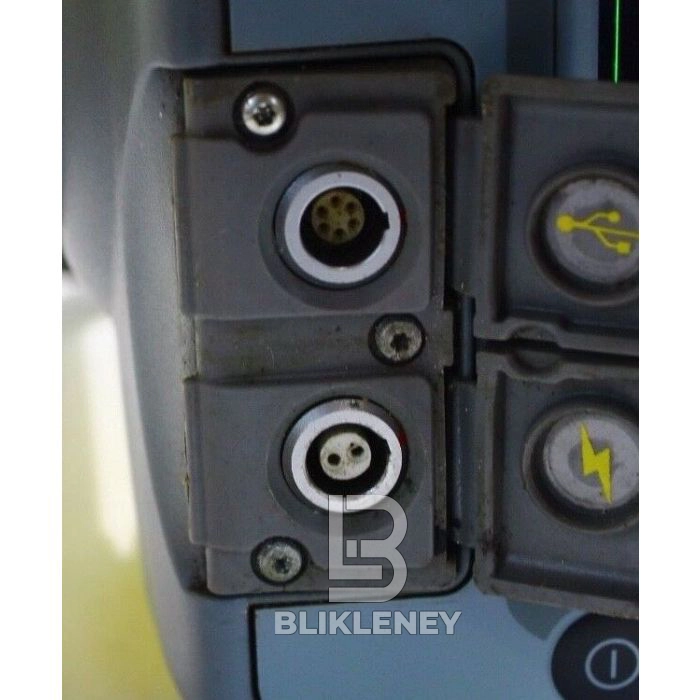
- BNC or Lemo Connectors – your choice
- Wide band amplifier
- Affordable price
- Thickness Data Logger (8,000 readings)
- Auto-Cal for fast set-up
- 2 gates
- Depth/E-E/Trig measurement
- Auto-Cal
- DAC/AWS/AVG
- 8000 thickness readings storage capacity
Sonatest SiteScan 250S Flaw Detector Included:
- Sonatest Sitescan 250S Ultrasonic Flaw Detector (BC#-L/T*)
- AC Adapter/Charger
- User Manual on CDROM
- Carrying Case (G)
You may also be interested in Leica ScanStation P40
Sonatest SiteScan 250S Flaw Detector Specifications:
| Test Range | 0-5mm (0.2in) up to 0-10000 (400in) at steel velocity. Variable in sequence, 10mm or 1mm |
| Velocity | 1000 – 9999 m/s |
| Probe Zero | 0 – 999.999 us |
| Delay | 0 – 10000m at steel velocity in 0.05 steps (0 – 400 in 0.002 in steps) |
| Gain | 0 – 110dB in 0.5, 1, 2, 6, 10, 14, 20 dB steps |
| Test Modes | Pulse echo and transmit-receive |
| Gates | Two fully independent gates for echo monitoring and thickness measurement. Start and width adjustable over full range of unit, amplitude variable from 0 to 100% FSH. Bar presentation. Positive or negative triggering for each gate with audible and visual alarms. |
| Measurement Modes | |
| Depth | Depth and amplitude of signal in gate |
| Echo – Echo | Echo – Echo distance, automatic gate 2 position |
| Gate to Gate | Echo – Echo distance, manual gate 2 position |
| Trig | Trigonometric display of beam path, depth and surface distance Calculation of skip depth and curve surface compensation, X-offset for transducer |
| T-Min | Holds minimum thickness in depth mode |
| Pulser Voltage | -200 volt peak amplitude, rise/fall time <10ns into 50 ohm |
| Pulser Width | Fixed 100ns 30 – 250 ns linked to filter band |
| Pulser Repetition Frequency | Selectable 5 – 1000Hz. |
| Display | Colour transflective TFT Display area 111.4 x 83.5mm (4.39 x 3.29 in) A-scan area 315 x 200 max Variable brightness Sunlight viewable 8 Selectable colour schemes for A-scan & menu |
| Screen Update Rate | 50 or 60Hz |
| Rectification | Full Wave, positive, negative, RF |
| Frequency Bands | Broadband 1 – 10 Mhz (-6dB) |
| Vertical Linearity | 1% full screen height |
| Amplifier Linearity | +- 0.1 dB |
| Horizontal Linearity | 0.33% full screen width |
| Reject | 50% Suppressive LED warning light when activated |
| Waveform Smoothing | Produces a smooth signal envelope |
| Units | mm, inches or time |
| AGC | Automatic Gain Control sets selected echo to a user defined level (10-90%) |
| DAC | Up to 10 points may be entered and used to digitally draw a DAC curve Reference -2, -6, -10, -12, -14 dB curves can be selected for JIS, ASME and EN1714 codes |
| AWS | Automatic defect sizing in accordance with AWS D1.1 Structural Welding Code |
| API | Automatic defect sizing in accordance with API 5UE |
| AVG/DGS | Automatic defect sizing using probe data |
| TCG | Time corrected Gain 40dB dynamic range, 30dB per microsecond, up to 10 points for curve definition. |
| A-scan Memory | 800 waveforms |
| Panel Memory | 100 stores for calibration setting |
| Thickness Logging | 8000 readings stored in Block/Location/Number coding or alpha-numeric pre-programmed work sheets Transferable to Excel using optional SDMS |
| Auto-Cal | Automatic calibration with two echoes |
| Reference Waveform | Recalled waveform can be shown in a different colour to live waveform for direct comparison |
| Display Freeze | Holds current waveform on screen |
| Peak Memory | For echo-dynamic pattern capture |
| Front USB | For connection to PC, keyboard and printer |
| Outputs | Serial Interface, composite video (PAL & NTSC), analogue output for amplitude and distance updated at PRF rate Transmitter sync output |
| Battery | Lithium Ion 14.4V 5.0 ampere hours Up to 16 hours, indication of battery charge. Recharge time 4 hours. Mains pack option |
| Charger | 100 – 240 VAC, 50-60Hz |
| Environmental | Meets IP67 |
| Temperature Range | Operating -10o C to 55o C (14o F – 131o F) Storage -40o C to 75o C (-40o F to 167o F) |
| Size | 256 x 145 x 145mm (10 x 5.7 x 5.7 in.) |
| Weight | 2.5Kg (5.5 lbs) with battery |



















Reviews
There are no reviews yet.